Leaked: How To Master Tape Measures In Inches With This Simple Trick!
Have you ever struggled with getting accurate measurements, especially when dealing with angled cuts or complex projects? You're not alone. Many DIY enthusiasts and professionals alike find themselves frustrated when trying to measure to the long point of an angle, often leading to wasted materials and time. But what if I told you there's a simple trick that can revolutionize your measuring game? In this comprehensive guide, we'll explore this game-changing technique and much more, helping you become a tape measure master in no time.
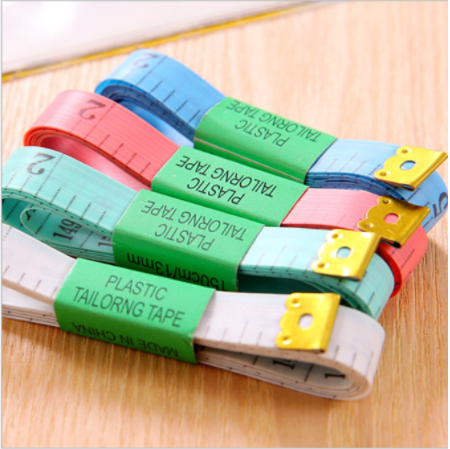
The Tape Measure: Your Most Trusted Tool
The tape measure is a simple but essential tool that has been a staple in toolboxes for decades. On the face of things, it seems easy enough to use—pull the tape out, take a measurement, or make a mark for a cut. However, as many DIYers and professionals know, there's more to this humble tool than meets the eye.
Understanding the Basics
Before we dive into our revolutionary trick, let's ensure we have a solid foundation. A standard tape measure typically measures in inches, with each inch divided into fractions (1/2, 1/4, 1/8, and 1/16). The hook at the end of the tape is designed to move slightly to account for its own thickness, ensuring accurate measurements whether you're measuring from an inside or outside edge.
- Jews Believe In Jesus The Leaked Truth Thats Blowing Up The Internet
- Parents In Panic The Toxic Truth About Daddys Little Toy Book Finally Revealed
- Jasmine Crockett Dating
The Simple Trick That Will Change Everything
Instead of trying to figure out how to measure to the long point of an angle, just measure in real time and space to the short point. This technique is a game-changer for anyone who's struggled with angled cuts or complex measurements.
Here's how it works:
- Identify the short point of your angle.
- Pull the tape out to your desired length—add 1—and mark the board.
- Make your cut based on this mark.
This method eliminates the need for complex calculations and reduces the margin for error significantly. It's particularly useful for tasks like installing crown molding, building picture frames, or any project that involves angled cuts.
- Does Anant Ambani Have Autism
- Gypsy Rose Crime Sean
- Jeffrey Tambor Movies And Tv Shows A Comprehensive Guide To His Legendary Career
Expanding Your Measuring Skills
Now that you've mastered the simple trick, let's explore some additional tips and techniques to further enhance your measuring skills:
Using the Tape Measure for Marking
Many tape measures have a small slot in the hook, often referred to as the "nail and screw grab." This feature allows you to hook onto a nail or screw, providing a fixed point for measurements. It's particularly useful when working alone or when you need to measure from a specific point.
Reading Between the Lines
While most people are familiar with the large numbers representing inches, it's crucial to understand the smaller markings as well. Each inch is typically divided into 16 parts, with the longest line representing 1/2 inch, the next longest 1/4 inch, and so on. Becoming fluent in reading these markings can significantly speed up your work and improve accuracy.
Measuring Curved Surfaces
When dealing with curved surfaces, a flexible tape measure or a length of string can be invaluable. Wrap the string around the curve, mark the length, and then measure the string against a straight ruler or tape measure for an accurate measurement.
Advanced Techniques for Precision
For those looking to take their measuring skills to the next level, consider these advanced techniques:
The Story Pole Method
This technique involves creating a full-size template of your project on a long, straight board. It's particularly useful for complex layouts or when working with multiple pieces that need to fit together precisely.
Using Complementary Tools
While the tape measure is versatile, it's not always the best tool for every job. Consider using a combination square for precise 90-degree angles, a protractor for exact degree measurements, or a laser measure for long distances or hard-to-reach areas.
Common Mistakes to Avoid
Even with the best techniques, mistakes can happen. Here are some common pitfalls to watch out for:
Not accounting for the hook's thickness: Remember that the hook moves slightly to compensate for its own thickness. Ensure it's properly positioned for inside or outside measurements.
Reading the tape upside down: Always ensure you're reading the tape from the correct angle to avoid misreading measurements.
Ignoring the end hook: The end hook is part of the tape's length. When measuring inside dimensions, ensure the hook is properly seated against the surface.
Not double-checking: Always measure twice before making a cut. It's a simple step that can save you from costly mistakes.
Conclusion
Mastering the art of measuring with a tape measure is a journey that can significantly enhance your DIY skills and professional craftsmanship. By understanding the basics, implementing the simple trick of measuring to the short point, and exploring advanced techniques, you'll be well on your way to becoming a measuring expert.
Remember, practice makes perfect. Don't be discouraged if you don't get it right the first time. With patience and persistence, you'll soon find yourself making precise measurements with ease, saving time, materials, and frustration in all your projects.
So, the next time you're faced with a challenging measurement, remember the simple trick we've shared here. Instead of trying to figure out how to measure to the long point of an angle, just measure in real time and space to the short point. It might just be the "leaked" secret that takes your measuring skills to the next level!